Table of Contents
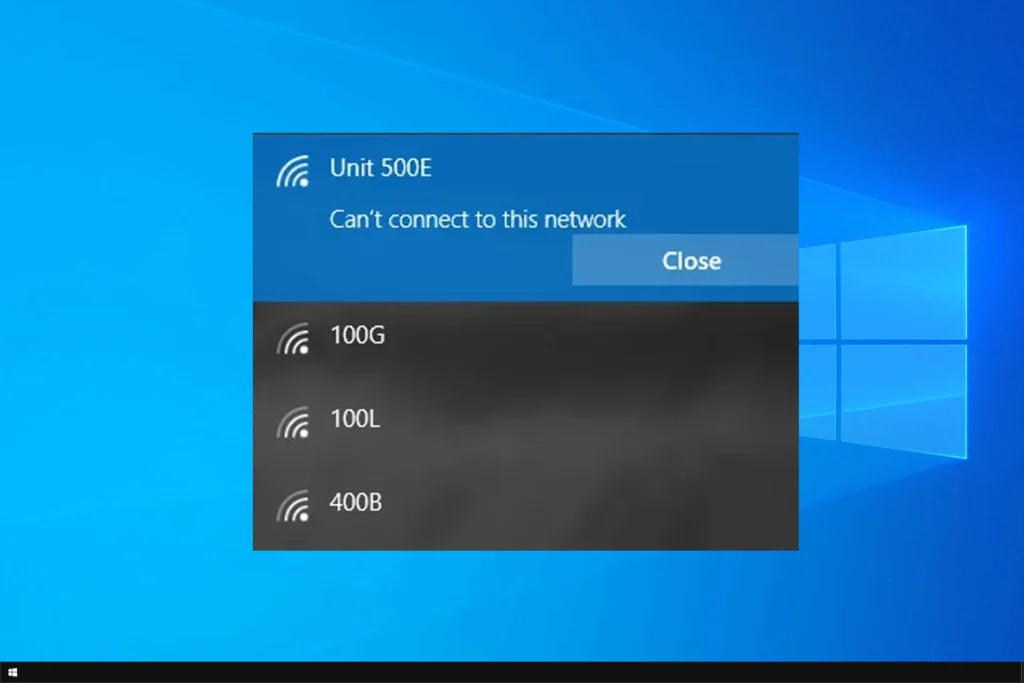
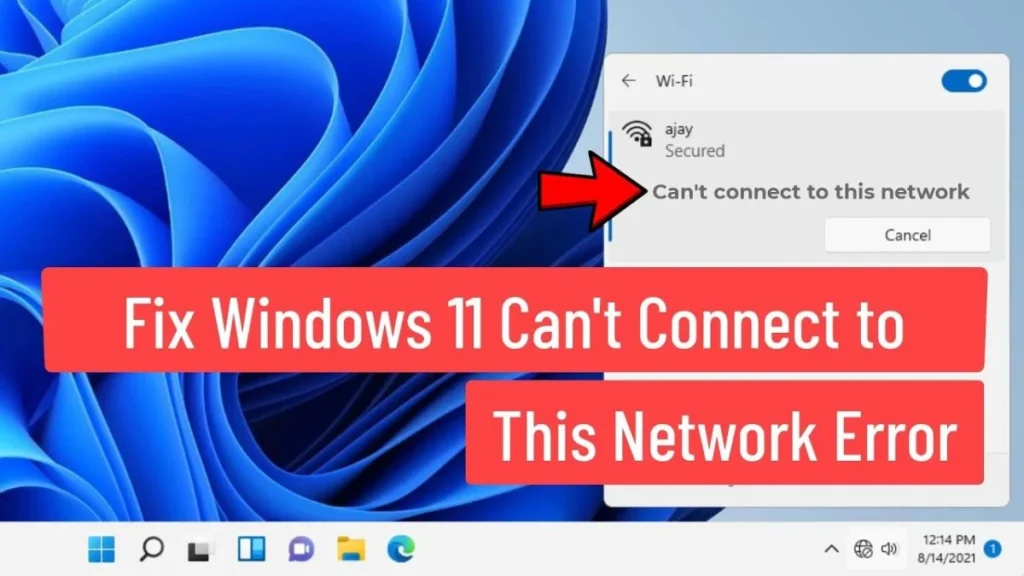
Are you seeing the error message “Can’t connect to this network” on your Windows computer? It can be super frustrating, especially when you need to get online for work, school, or just browsing. Don’t worry; you’re not alone in facing this issue! Many people encounter this message, but the good news is that it’s usually fixable with just a few simple steps.
In this guide, we’ll show you exactly what to do if you can’t connect to this network. Whether it’s a Wi-Fi problem or something in your settings, we’ve got you covered with clear instructions. Keep reading to find out how to fix this problem quickly and get back online in no time!
Why You Might See “Can’t Connect to This Network” on Your Windows PC
Seeing the message “Can’t connect to this network” on your computer can be frustrating. This error can pop up for many reasons, like problems with your Wi-Fi router, your network settings, or even your computer’s software. Sometimes, the issue is simple to fix, but other times it requires some troubleshooting steps.
One common reason for this error is when your device can’t find or reach the Wi-Fi network. This can happen if your network settings are not correct or if there is interference from other devices nearby. Another reason might be outdated or missing network drivers, which can stop your computer from connecting properly to Wi-Fi.
Step-by-Step Guide to Fix “Can’t Connect to This Network” Error
If you see the “Can’t connect to this network” message, follow these steps to fix it. Start by restarting your router. Unplug the router, wait for 10-20 seconds, and plug it back in. This will refresh your connection.
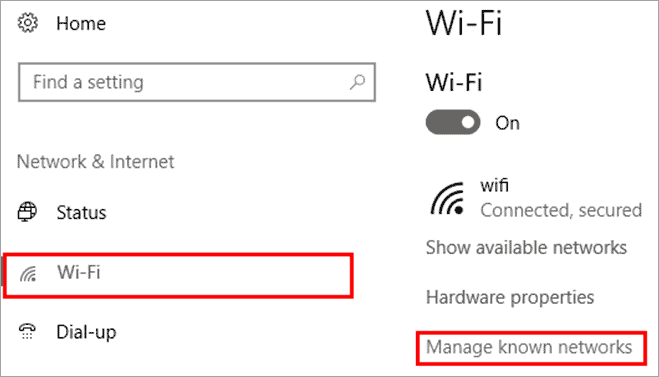
Next, try restarting your computer. Sometimes, a simple restart can fix small software glitches. If that doesn’t help, try forgetting the network and reconnecting. Go to your Wi-Fi settings, find the network you want to join, click “Forget,” and then reconnect by entering your Wi-Fi password again.

How Forgetting and Reconnecting Your Wi-Fi Can Solve the Problem
Forgetting and reconnecting to your Wi-Fi network is a simple and effective fix. If your computer keeps trying to connect with old settings, this can cause issues. Forgetting the network clears those old settings and forces your computer to start fresh.
Here’s how to do it: Go to your Wi-Fi settings and click on the network you are trying to connect to. Choose “Forget.” Afterward, find your network again and enter the Wi-Fi password to reconnect. This can often solve the “Can’t connect to this network” error, especially if there’s a settings issue.
How Airplane Mode Can Help When You Can’t Connect to This Network
Airplane mode can sometimes help reset your network connection. It cuts off all wireless connections temporarily and can give your device a fresh start. When you turn airplane mode on and then off again, it helps your computer reset its network settings.
Try this: Turn on Airplane mode by clicking on the network icon in your taskbar and selecting “Airplane mode.” Wait for a minute, then turn it off. After doing this, try connecting to your Wi-Fi network again. This quick reset can help your device reconnect.
The Importance of Updating Drivers to Fix Network Connection Issues
Outdated drivers are another common reason you might see the “Can’t connect to this network” error. Drivers are small programs that help your computer communicate with its hardware, like your Wi-Fi adapter. If these drivers are old or broken, your computer may not be able to connect to Wi-Fi.
To fix this, go to your device manager, find your network adapter, and check for updates. If an update is available, download and install it. Updating your drivers can often solve many Wi-Fi connection problems, including the “Can’t connect to this network” error.
What to Do When Updating Network Drivers Doesn’t Work
Sometimes, updating your network drivers isn’t enough to solve the issue. If that happens, try uninstalling the network adapter and reinstalling it. This can help remove any corruption or glitches in the software.
Here’s how to do it: Open Device Manager, find your network adapter, right-click on it, and select “Uninstall.” Afterward, restart your computer. Windows will automatically reinstall the network adapter, and this can often fix the connection issue.
How to Use the Network Troubleshooter to Fix Wi-Fi Connection Issues
Windows has a built-in tool called the Network Troubleshooter that can help you find and fix connection problems. It checks your computer’s network settings and suggests fixes based on what it finds.
To use it, go to your network settings, click on “Network Troubleshooter,” and follow the instructions. This tool can quickly identify common problems and guide you through solutions, like resetting your network settings or fixing other issues that might be causing the “Can’t connect to this network” message.
Fixing “Can’t Connect to This Network” with a Winsock Reset
A Winsock reset is a quick fix that can help you solve network connection problems. Winsock is a program in Windows that controls how your computer communicates with networks. If it gets damaged or corrupted, it can cause issues with connecting to Wi-Fi.
To reset Winsock, open Command Prompt as an administrator and type “netsh winsock reset” and press Enter. After this, restart your computer. This simple step can often clear up network connection problems, including the “Can’t connect to this network” error.
Flushing Your DNS Cache: A Simple Solution for Wi-Fi Problems
Flushing your DNS cache is another helpful step. The DNS cache stores information about websites you’ve visited. If there’s an issue with the cache, it can affect your network connection.
To flush your DNS cache, open Command Prompt as an administrator and type “ipconfig /flushdns,” then press Enter. This will clear the cache and might help fix the “Can’t connect to this network” issue.
What Happens When Your Network Settings Need a Reset
Sometimes, resetting your network settings is the best way to fix Wi-Fi connection problems. This will remove any custom settings and restore everything to its default state, which can clear out any issues.
To reset your network settings, go to Settings > Network & Internet > Status, and select “Network Reset.” After your computer restarts, check if you can connect to the network again. This should help fix the “Can’t connect to this network” error.
How to Disable IPv6 and Improve Wi-Fi Connectivity
Disabling IPv6 is another potential fix for Wi-Fi connection issues. IPv6 is a newer internet protocol, but it can sometimes cause issues with certain networks. Disabling it may help your computer connect to Wi-Fi more easily.
To disable IPv6, go to your network adapter settings, find the properties for your Wi-Fi connection, and uncheck “Internet Protocol Version 6 (TCP/IPv6).” After doing this, restart your computer and check if the problem is solved.

Conclusion
If you’re still struggling with the “Can’t connect to this network” issue, don’t worry. There are many ways to fix it, from simple restarts to more advanced solutions like resetting your network settings or updating your drivers. The important thing is to stay calm and try the steps one by one to see what works best for you.
With a bit of patience and the right steps, you’ll be able to get your Wi-Fi connection back in no time. If you need more help, feel free to check other guides or ask a professional for assistance.
FAQs
Q: Why does my computer say “Can’t connect to this network”?
A: This message usually appears due to issues with your Wi-Fi settings, network drivers, or your router. It can also happen if your Wi-Fi is turned off or there’s interference.
Q: How can I fix “Can’t connect to this network” on my Windows 10 PC?
A: Restart your router, forget and reconnect to the network, and update your network drivers. These steps can help resolve the issue.
Q: Will resetting my network settings help with Wi-Fi issues?
A: Yes, resetting your network settings can help fix many Wi-Fi connection problems, including the “Can’t connect to this network” error.
Q: How do I check if my Wi-Fi drivers are up to date?
A: Open Device Manager, find your network adapter, and check for updates. If available, download and install the latest drivers.


